Using this module you can manage your tables floor-wise and also can add tables or can assign how many persons can seat.
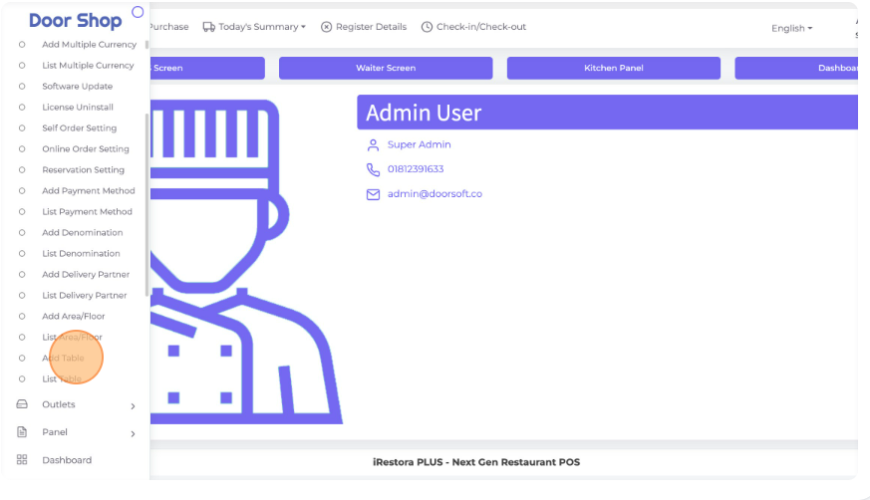
Go to "Settings" from the left menu, and then click on "Add Table".
Area/floor: Select your Area/Floor from this section for which floor you want to add a table.
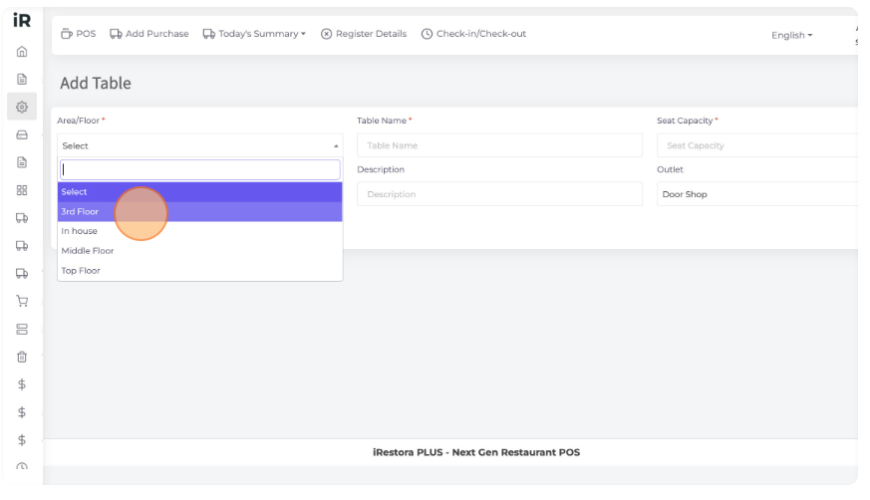
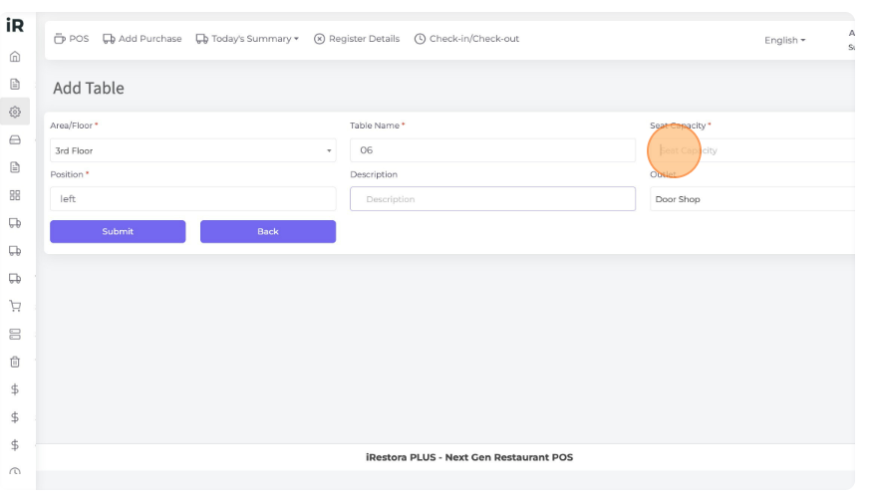
Table Name: Here enter your table name or table number that you can easily find.
In the "Position" field enter the position of your table.
In the "Seat Capacity" field enter the seating capacity of the table.
In the "Outlet" section select the specific outlet to which you want to add a table in case you are using the Multi Outlet version.
In the "Description" field you can enter the description of the table.
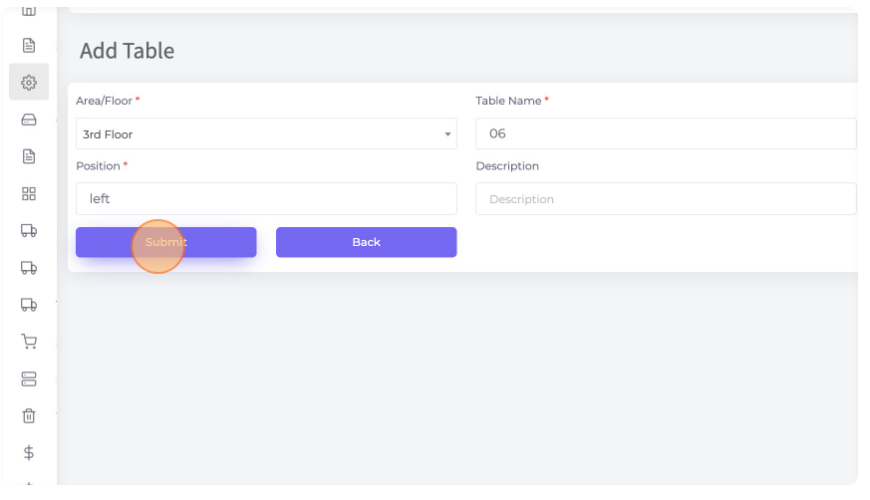
Click "Submit" to save this table information.
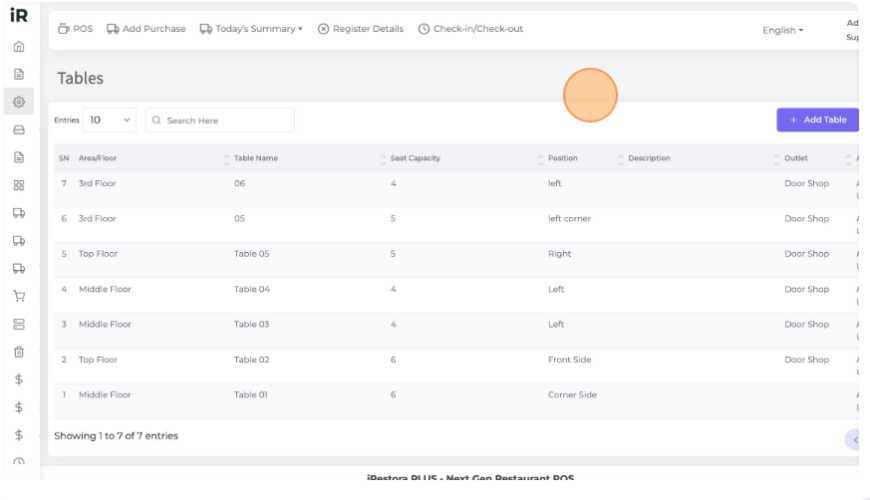
Go to "Settings" from the left menu, and then click on "List Table".
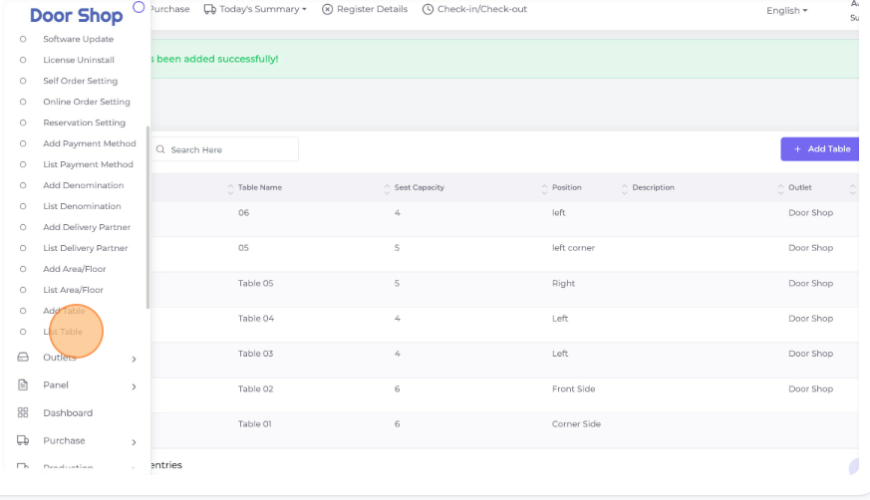
List Table: Here you can see all Tables in the list view.
Here you can edit or delete any Table from the Action column in the list.
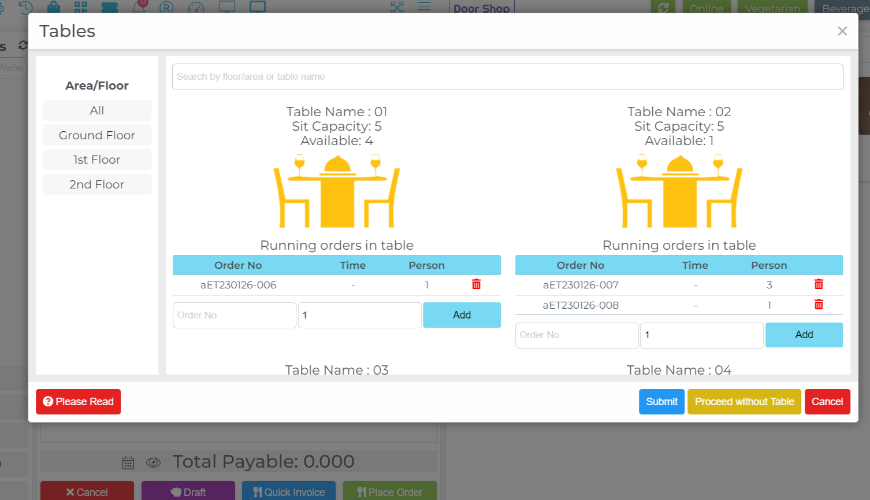
In the POS screen, you can see the tables which add in above.
Here you can manage your tables. And you can filter area/floor wise from left.
In the "Order" field, a number will auto-generate.
Person: In this field enter the number of persons you want to assign to this table.
By clicking the "Add" button the entered person number will be assigned to the table.
Then click "Submit" to save the changes.
Note: We will know later details about this
Was this page helpful?
Thank you for your feedback!
Please Login First


Sign in to post your comment or signup if you dont have any account.
.png)
0 Comments